Another year, another update to the plethora of Apple's operating systems. This year's macOS release — Big Sur — certainly has some big changes, most notably the first version that will run on Apple's upcoming Apple Silicon processors. There was also a visual refresh, more akin to the jump from Mavericks to Yosemite than moving from Mac OS 9 to X.
Installing beta software is always risky, and already I've read of a couple accounts where people have tried to install Big Sur on either an external disk or on another partition and encountered some nasty surprises (including bricking the computer). For now, installing Big Sur under a virtual machine (VM) might be the safer way to go until the software hardens up. In this post, I'll go over the steps and issues I encountered with installing the first beta version of macOS Big Sur under VMWare Fusion 11.5.5.
Download macOS Big Sur
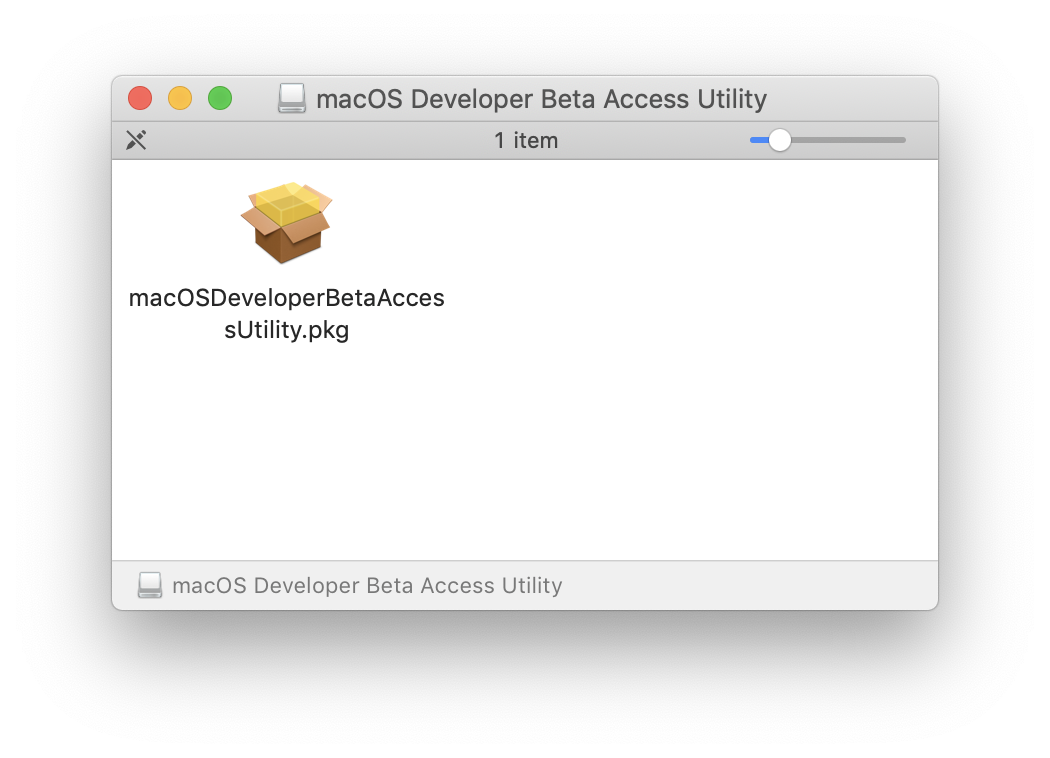
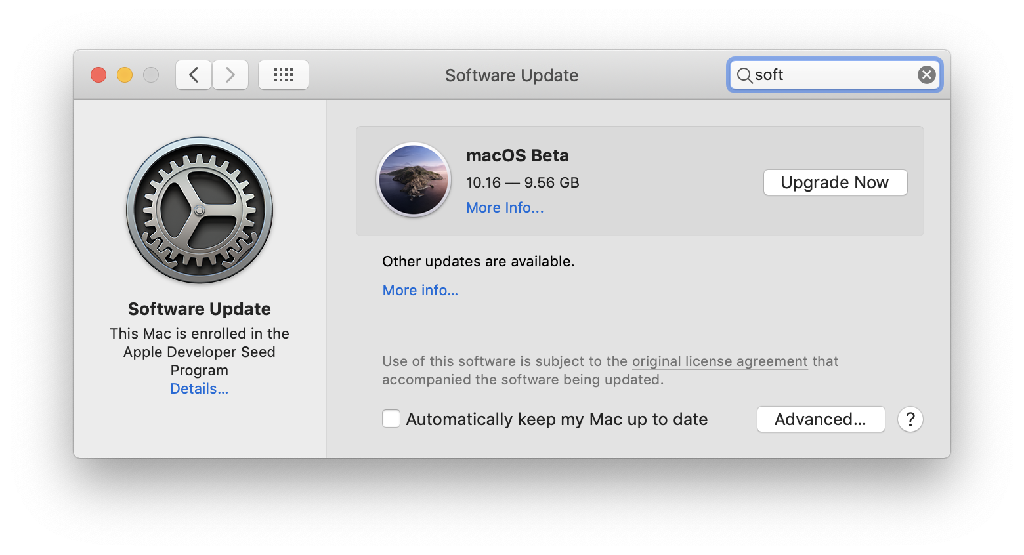
The first step is to get a copy of the software. Unfortunately, Apple doesn't make this as straightforward as just downloading a single file. Log in to Apple's developer portal and go to the beta applications downloads page. Click on the Install Profile button to download the macOSDeveloperBetaAccessUtility.dmg file. Open up the disk image and install the software. This will then allow you to download the beta version of Big Sur through the Software Update pane in System Preferences. Note how the window says macOS 10.16, yet Big Sur is actually version 11.0.
Creating a Big Sur ISO
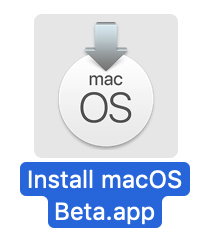
To install macOS in VMWare Fusion, we need to generate an ISO from the downloaded Install macOS Beta.app installer. The installer comes in at 9.57GB and another 22GB will be needed on top of another 60GB reserved for the VM.
// Create a DMG Disk Image
hdiutil create -o /tmp/BigSur -size 12000m -volname BigSur -layout SPUD -fs HFS+J

// Mount it to your macOS
hdiutil attach /tmp/BigSur.dmg -noverify -mountpoint /Volumes/BigSur

// Create macOS Big Sur Installer
sudo /Applications/Install\ macOS\ Beta.app/Contents/Resources/createinstallmedia --volume /Volumes/BigSur --nointeraction
On my first attempt, I initially reserved 10GB, expecting that would be large enough. Nope. That resulted in a "prelinkedkernel" error. Bumping things up to 11GB fixed the issue, though. I've seen some feedback mentioning that 11GB is not even enough, and it should now be 12GB.
// First attempt tried to make the volume sized at 10GB
% sudo /Applications/Install\ macOS\ Beta.app/Contents/Resources/createinstallmedia --volume /Volumes/BigSur --nointeraction
Password:
Erasing disk: 0%... 10%... 20%... 30%... 100%
Copying to disk: 0%... 10%... 20%... 30%... 40%... 50%... 60%... 70%... 80%... 90%... 100%
Making disk bootable...
Copying boot files...
Failed to copy boot file: “prelinkedkernel” couldn’t be copied to “PrelinkedKernels”.
The bless of the installer disk failed.

// Second attempt, successful at 11GB
% sudo /Applications/Install\ macOS\ Beta.app/Contents/Resources/createinstallmedia --volume /Volumes/BigSur --nointeraction
Password:
Erasing disk: 0%... 10%... 20%... 30%... 100%
Copying to disk: 0%... 10%... 20%... 30%... 40%... 50%... 60%... 70%... 80%... 90%... 100%
Making disk bootable...
Copying boot files...
Install media now available at "/Volumes/Install macOS Beta"
Next, I tried to unmount the Installl macOS Beta disk, but encountered some errors. I ended up having to force eject the volume from the Finder.
// Unmount Big Sur Disk
hdiutil detach /Volumes/Install\ macOS\ Beta
hdiutil: couldn't unmount "disk4" - Resource busy
The final step is to convert the disk image and rename it to an ISO file.
// Convert the DMG file to an ISO file
hdiutil convert /tmp/BigSur.dmg -format UDTO -o ~/Desktop/BigSur.cdr

Reading Driver Descriptor Map (DDM : 0)…
Reading Apple (Apple_partition_map : 1)…
Reading  (Apple_Free : 2)…
Reading disk image (Apple_HFS : 3)…
.....................................................................................................................
Elapsed Time:  1m 46.417s
Speed: 103.4Mbytes/sec
Savings: 0.0%
created: /Users/[username]/Desktop/BigSur.cdr

// Rename and Move to Desktop
mv ~/Desktop/BigSur.cdr ~/Desktop/BigSur.iso
Another Example
A helpful reader submitted this tip on what worked for them:
hdiutil create -o InstallMedia -size 20G -layout SPUD -fs HFS+J -type SPARSE

hdiutil attach InstallMedia.sparseimage -noverify -mountpoint /Volumes/install_build

sudo /Applications/Install\ macOS\ Big\ Sur\ Beta.app/Contents/Resources/createinstallmedia --volume /Volumes/install_build --nointeraction

hdiutil convert InstallMedia.sparseimage -format UDZO -o InstallMedia.dmg
Installing onto VMWare Fusion
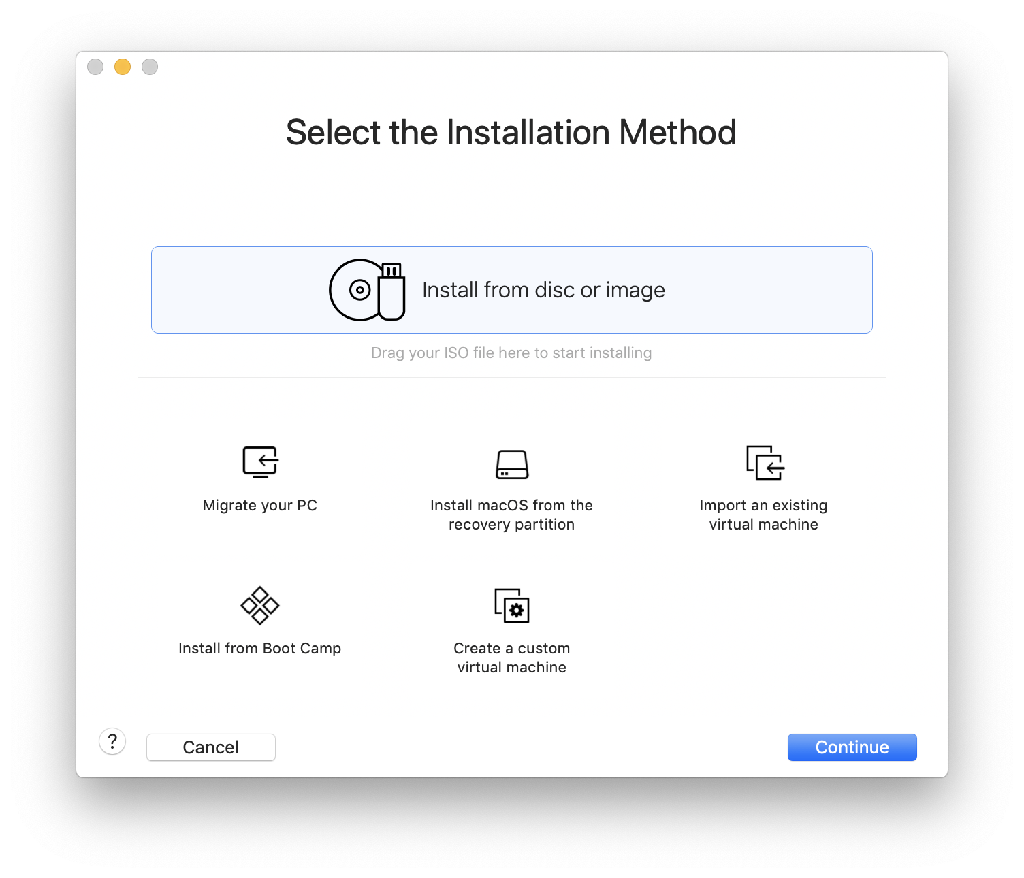
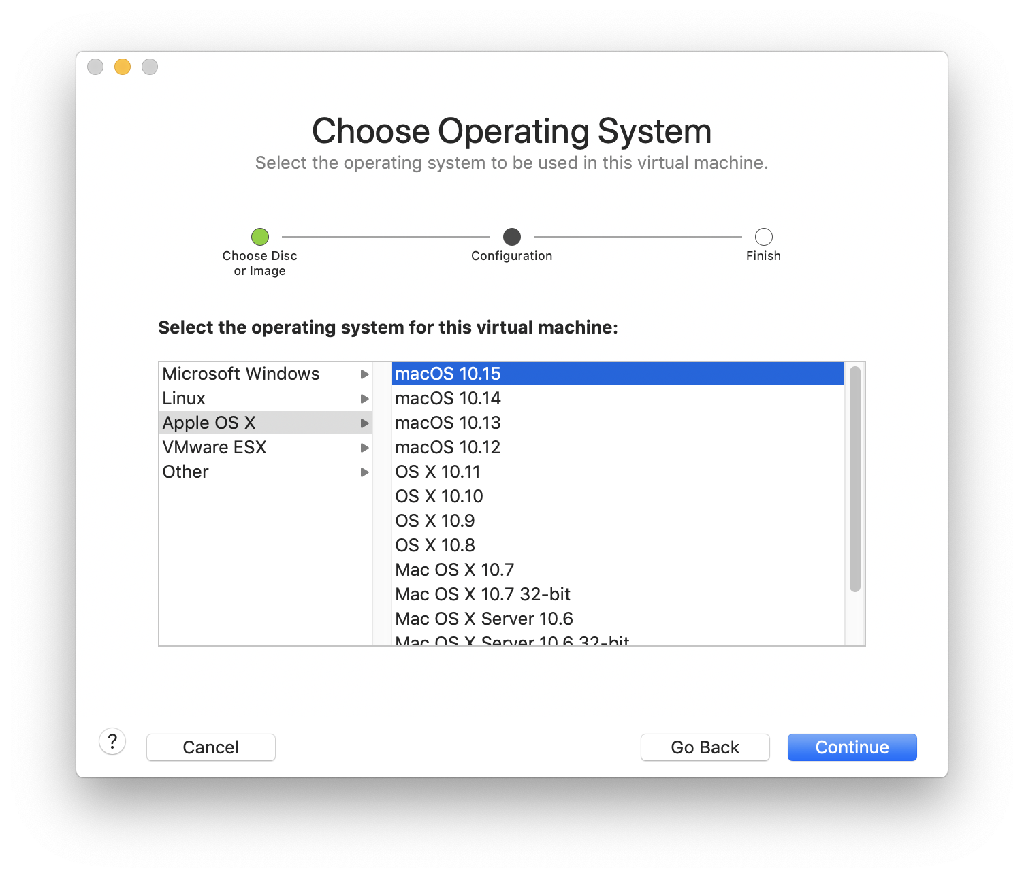
Now that we have an ISO of Big Sur, we can install it on VMWare Fusion. Start up VMWare Fusion, create a new VM (File > New...) then drag the ISO file onto the main window. Highlight BigSur.iso and click the Continue button. Since Big Sur is not recognized, just select macOS 10.15 for now.
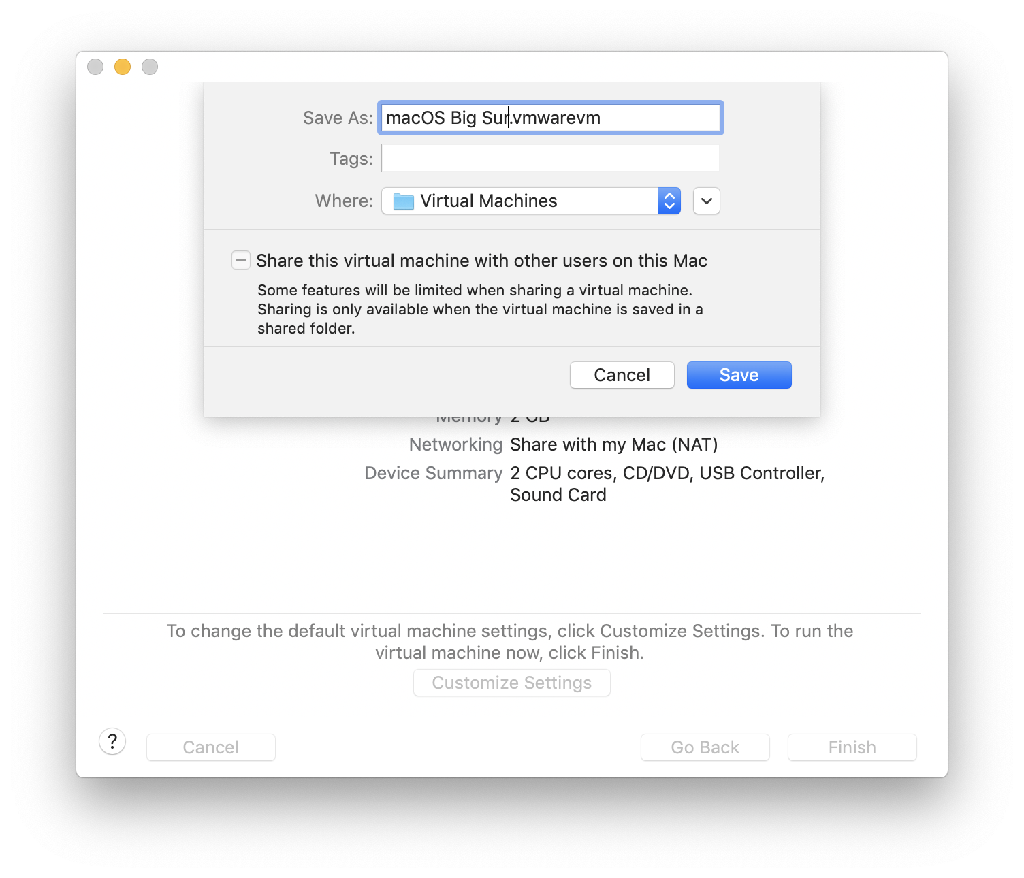
On the Finish screen, you can customize the settings, which only allows the rename of the VM file. We'll need to modify some other settings later in the process.
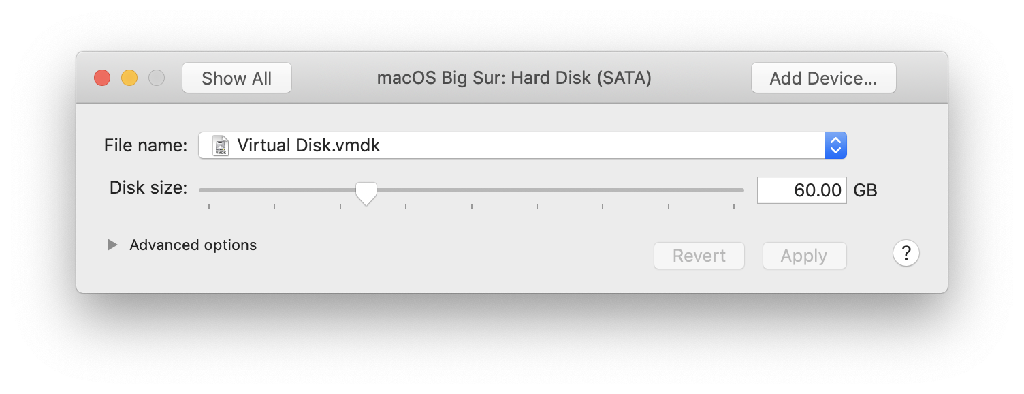
The first problem I encountered was that the default 40GB for the VM was not going to be large enough for macOS Big Sur. As the installation began, I went into the VM settings and changed the hard drive size up to 60GB. However, this isn't as easy or as straightforward as it should be. Another step will be needed to ensure that the VM is the proper size.
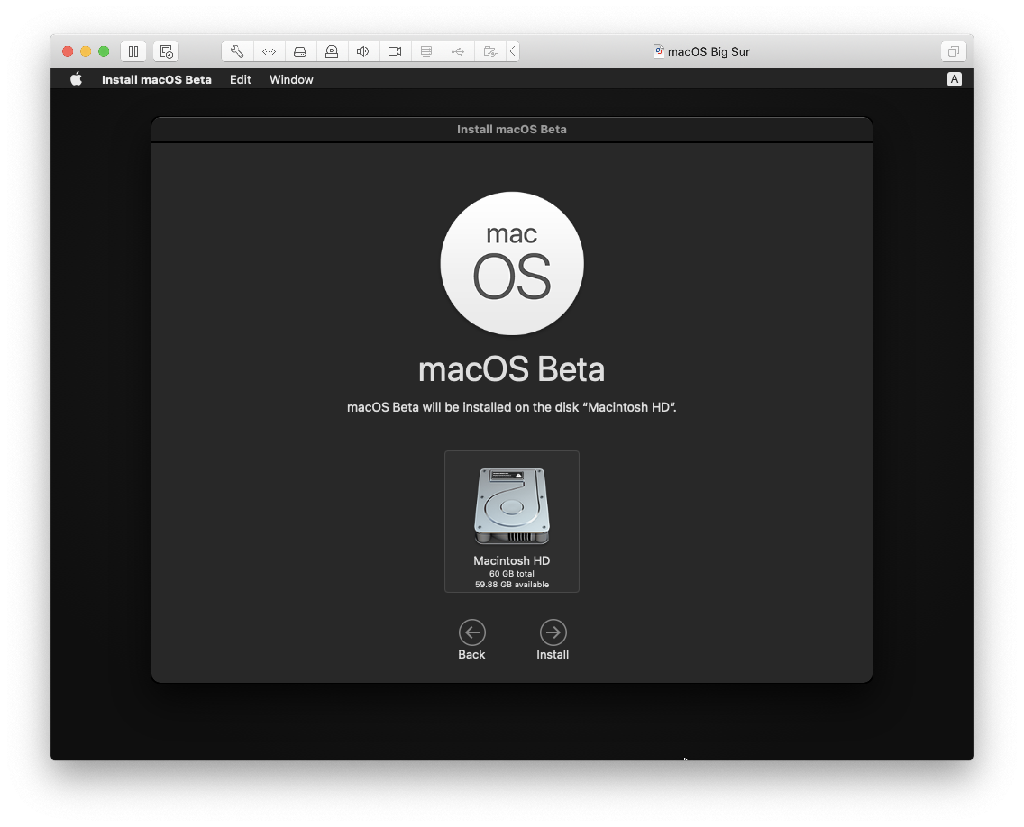
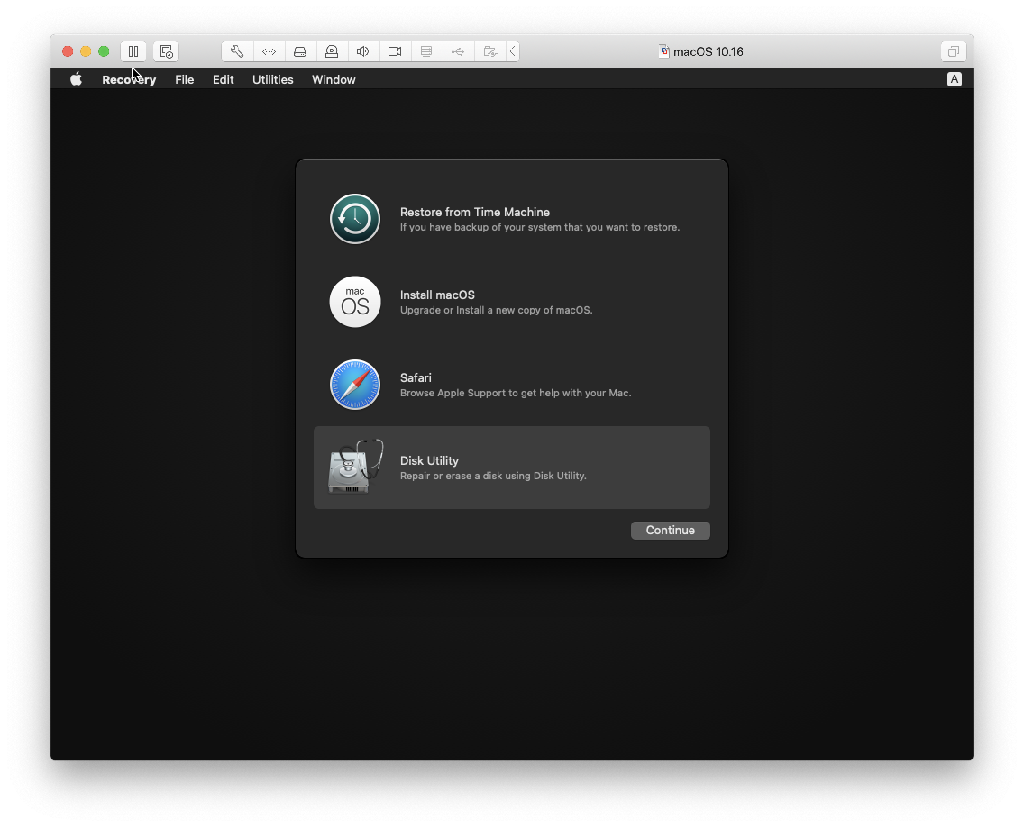
At the Recovery screen of the installation process, select Disk Utility before continuing the installation of Big Sur.
If Disk Utility still only shows ~40GB, shut down the installation process, make sure that the VM HD settings show at least 60GB, and restart the process. I also recommend bumping up the VM's RAM from the default 2GB.
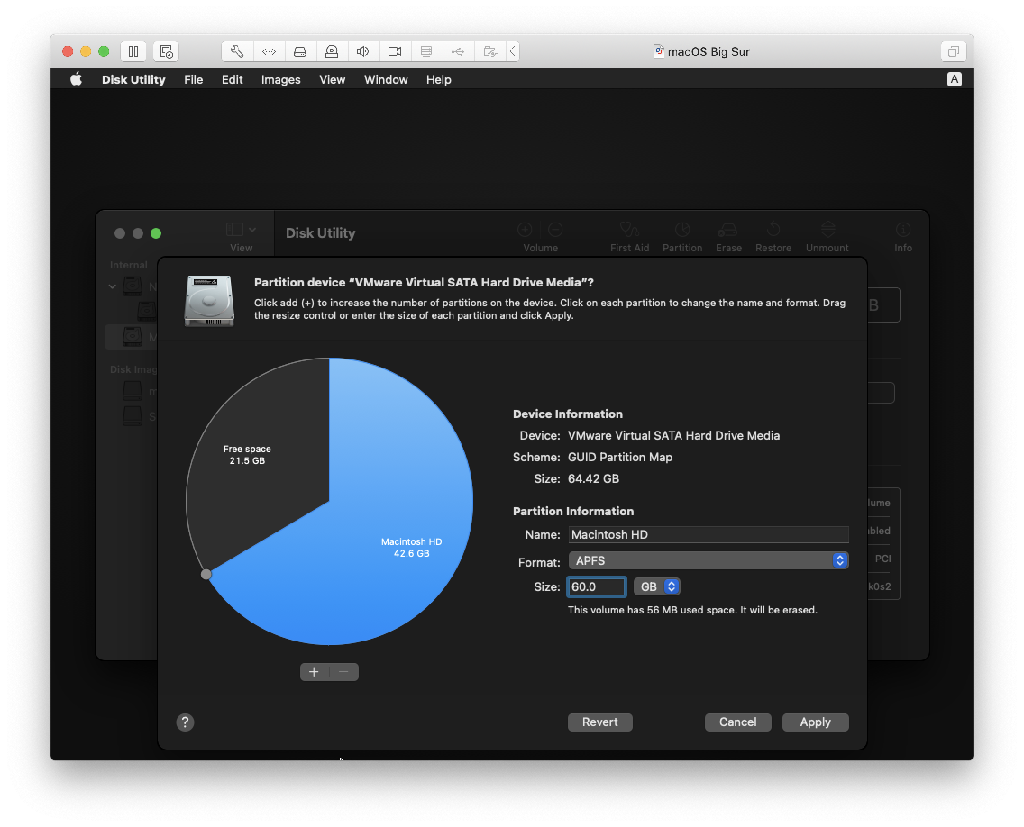
Now that the virtual drive's size has been increased, there should be enough space to install Big Sur. Quit out of Disk Utility and then click on Install macOS from the menu to continue the process to install the new operating system. I ran this on an iMac with a 2TB Fusion drive, so the install took awhile at times (and ran slower than a Mac SE), but it does give an early taste of the next version of macOS.
