Last year, I took on the arduous task of archiving around 200 old floppy disks. The last time I had done an archive was back in the late 90s, so it was a good idea to go through this process while there was still the necessary hardware available to back up these old relics of digital storage.
Most of my floppy disks were 720K or 1.44MB disks for the PC, with a handful of 800K Mac formatted disks. Since I haven't owned a computer with a floppy drive in it for many years, I went in search of an external floppy drive that would be able to read both 720K and 1.44MB disks. I found a number of products like this which claimed to work with 1.44MB disks, but most products were not very clear if they did or did not work with the older 720K format. Buying a drive off the internet and hoping that it would work with 720K disks was a bit of a gamble. User comments were varied in how reliable these drives would be with the disks.
I visited a Micro Center and they had two types of external USB floppy drives available. One of the drives was in a nondescript, tan cardboard box that was easy to open up. This drive is similar to the package I picked up at Micro Center for around $15 USD (just without the IBM logo). Disk Utility identifies this as the Y-E DATA USB-FDU (USB floppy disk drive). The back of the drive identifies as a Model: FD-05PUB.
The Micro Center staff was accommodating to let me try it out and see if my 1.44MB and 720K disks worked on Mac and/or PC. The Mac didn't initially seem to have any luck with the 720K disk (I later discovered that particular disk was probably dead, since Windows couldn't read it either). But Disk Utility did see the 1.44MB disk appear. When I went over to a PC (running Windows 7), it was able to see both the 1.44MB and another 720K disk which did work.
At home I tried another experiment and hooked the drive up to an older iMac running Snow Leopard. It was able to see any functioning disk I used (both 1.44MB and 720K). I was able to create a disk image off of a floppy, as well. One sad reminder about this relic of a technology — it's slow! Fortunately, even though some of these disks were well over 25 years old, they were of a higher quality than the floppies made in the late 90s (which tended to be a whole lot less unreliable). Of the 200 disks I archived, only about 1 in 10 had any major issues (compared to the Zip disks I also tried to back up, and nearly every one of them was dead or in the process of dying). Of those few floppies which had some bad sectors, I was still able to recover some of the contents by using the command line utility dd.
sudo dd bs=512 if=/dev/rdiskXX# of=/path/to/foo.dmg conv=noerror,syncIn this example, rdiskXX# represents the path to the floppy disk, and it then scrapes the drive and dumps the readable content to a disk image. Use Disk Utility to get the /dev/rdisk path for the floppy drive. This was a welcome workaround to try and partially recover some files, versus having to throw away the entire disk.
800K Mac Floppies
This USB floppy drive did a great job in reading the PC-formatted disks, however it was not able to read the 800K Mac-formatted disks I had. Unfortunately, the Macs of the 80s and 90s which wrote out to 400K and 800K disks used a variable speed head, which allowed a little more data to be written to the disks, versus a PC-formatted disk. This also leads to that PC floppy drives cannot read these disks. The SuperDrive was introduced in 1988, which could also work with high-density 1.4MB floppies. I have a Macintosh SE, but it is the 1987 model, which predated the addition of the SuperDrive (which didn't happen until 1989). If my Mac had been equipped with a SuperDrive, backing up and archiving the Mac floppies would have been relatively simple by copying the contents of the original Mac floppies to the Mac and then copying the contents to a 1.4MB disk and then carrying that over to a modern system for backup. No such luck here, so I needed to find another way to be able to transfer the data from the 800K floppies to a modern computer.
One option to extract the data off of an old floppy is to use a service like RetroFloppy. This is a good option if you have some old floppy disks, but don't have a way to read them. RetroFloppy can handle pretty much any old type of magnetic storage, including Atari, Amiga, Commodore, TRS-80, CP/M, IBM-PC, Apple II, etc.
Some people have taken the route to purchase networking equipment and connect an old Mac up to an AppleTalk network, which might involve a not-quite-as-old Mac, and then transfer the files that way. I did make use of extra hardware, not by networking, but by emulating a floppy drive.
Floppy Emu
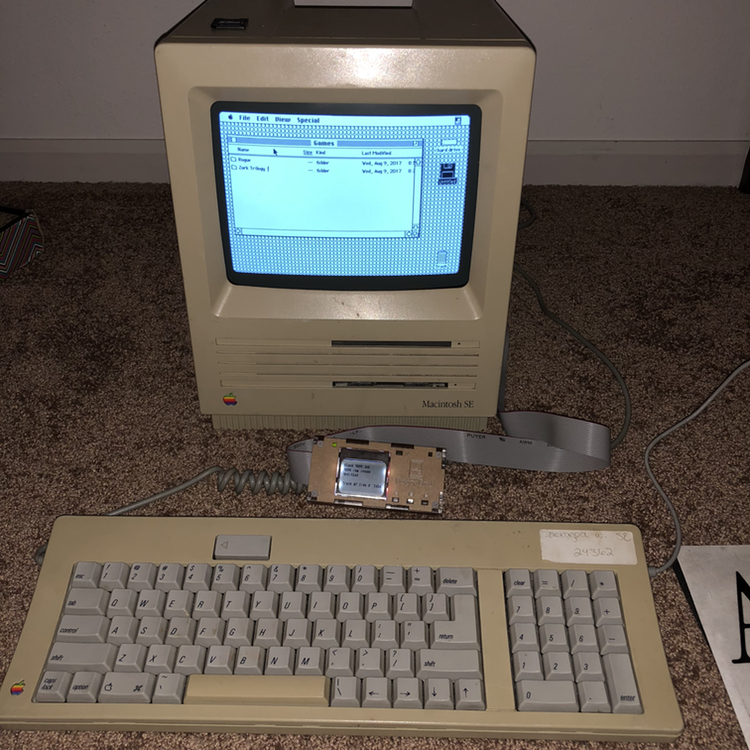
The route I took was to purchase a Floppy Emu from Big Mess O Wires, which acts as an emulated floppy drive. You can buy just the hardware, or get a bundled kit, which includes an clear acrylic enclosure. The acrylic has a paper adhesive on it which can be peeled off, but I was too impatient to try and peel off the paper and just assembled the kit as-is.
Configure for Mac
Once I had assembled the Floppy Emu, I still had one more step to perform to get it to work with my Mac SE by downloading the Macintosh firmware (version hd20-0.7H-F14.5 as of this writing). If you are working with an Apple II or Lisa, other firmware needs to be installed. The following are the instructions on how to install the firmware for the Floppy Emu:
See https://youtu.be/Gqpn9ugO1_U for a video demo of the firmware update process.
This update consists of two parts. You need to install both parts! If you see a warning message about "wrong CPLD", it means you haven't installed both parts.
SETUP
PART 1 (CPLD firmware):
- Copy the files firmware.xvf and femu.bin to the root directory of your SD card
- Insert the card into your Floppy Emu, and turn on your computer.
At this point, you may see a "wrong CPLD" warning. This is normal.
- Hold down the NEXT and PREV buttons.
- Press and release the RESET button.
- Continue holding NEXT and PREV until the firmware update process begins (about 3 seconds).
- Wait 10-15 seconds for the process to complete. Status LED will be flashing.
- When finished, the LCD will display "RESULT: SUCCESS"
PART 2 (AVR microcontroller firmware):
Confirm the new firmware version number is displayed on the self-test/info screen during startup.
- Hold down the SELECT and PREV buttons. Note these are not the same buttons as for part 1.
- Press and release the RESET button.
- Continue holding SELECT and PREV until the firmware update process begins (about 1 second).
- Wait 5 seconds for the process to complete. Status LED will be flashing.
- When finished, the LCD will display self-test information, and the main menu.
Load up blank disks and software
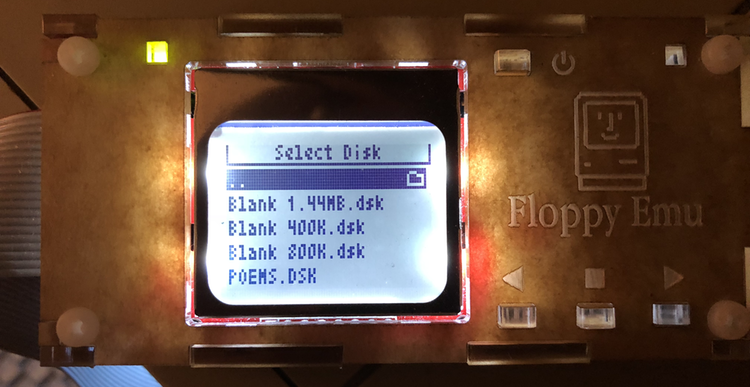
The Floppy Emu comes with a variety of software titles preloaded and it also includes a couple of "blank" disks in several sizes (400K, 800K, and 1.4MB). Since the Mac SE does not know how to handle high-density disks (1.4MB), I could only make use of the 400K and 800K disks. By mounting these disks, I was able to copy my original files to these blank disks, which are then stored on the Floppy Emu's SD card. If one needs additional blank disks, they can be downloaded and then copied onto the SD card for additional spare "disks".
Connect and transfer
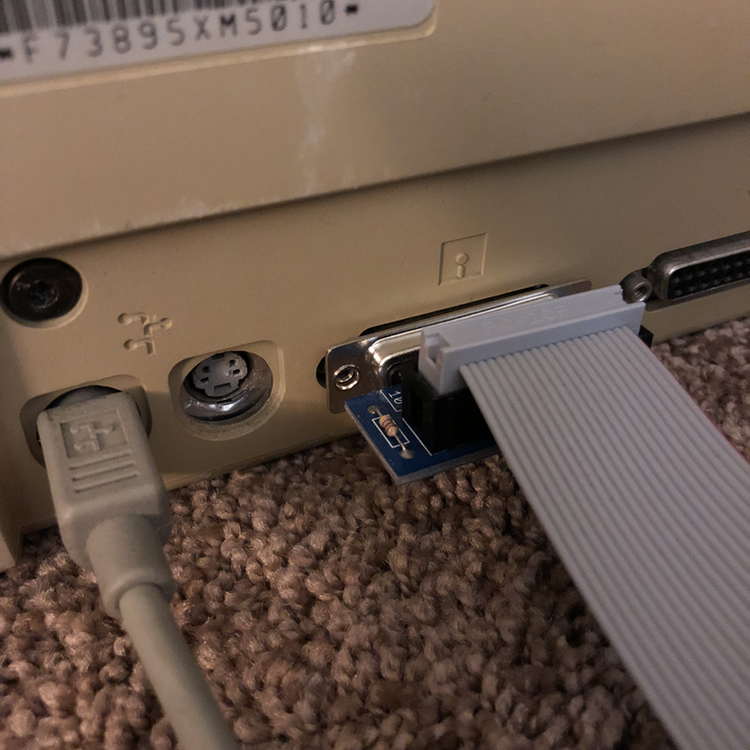
The Floppy Emu uses an SD card, which makes it possible to transfer data between an old Apple computer and a more modern machine. I connected the Floppy Emu to the back of the Macintosh SE. Once the Mac had started up, I selected a "blank" disk from the Macintosh section on the Floppy Emu, which then displays either a 400K or 800K emulated floppy disk on the Mac SE (the 1.4MB blank disk will not load on an older Mac SE). From this point, I was able to copy the files stored on the Mac over to the emulated disks. The Floppy Emu comes with a couple of these blank disks, but if more are needed, then download the blank disks and load them onto the SD card on a modern computer. Once the files have been copied over, eject the Untitled disk by dragging it to the Trash. Shut down the Mac and then move the SD card over to a modern computer. Unfortunately, the blank disks are stored as a DSK image, which cannot be natively ready by a modern Mac, so additional steps are needed to access these stored files from a modern Mac.
macOS and DSK Images
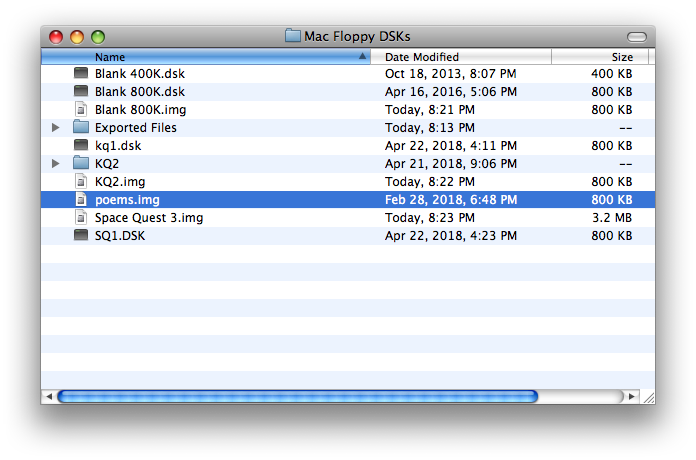
While modern versions of the Macintosh operating system (macOS High Sierra as of this writing) cannot open DSK images, there is an easy work around. Rename the DSK extension to img, and macOS should be able to open the renamed disk image. If you just want to get the files off of a DSK image, this is the simple method. If you want more complex ways of working with DSK images, you'll need to make use of another program such as Mini vMac or HFVExplorer for Windows.
Thanks go out to Steve from Big Mess O Wires for this tip.
Set Up Mini vMac
- Download Mini vMac. For a new Mac, download the x86-64 build for Macintosh.
- Mini vMac is not code signed, so right-click on the app and select Open. At the dialog box, click the Open button.
- Get a ROM image and place it in the same folder as Mini vMac (vMac.ROM). This is one of those sticky legal issues where you should have an old Mac and then extract the ROM image from it to make a legitimate copy of the ROM. Or you can search the internet. This part is left as an exercise for the reader.
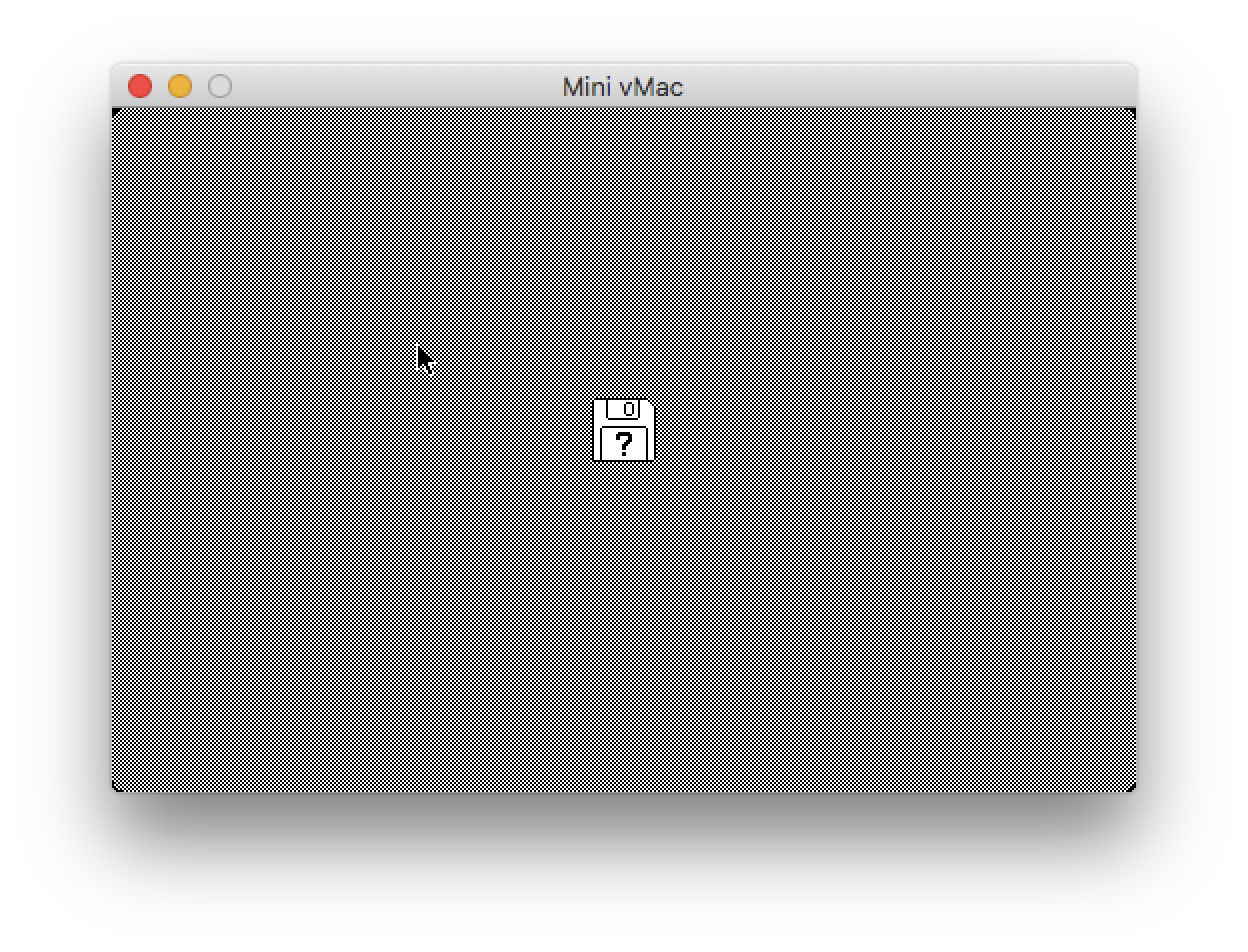
- Once vMac.ROM is in the same folder as the Mini vMac app, start Mini vMac. You will get a start up screen with a disk bearing a flashing question mark. You will need a bootable disk image. Download the file MinivMacBoot.dsk and drop it on the screen to “launch” vMac.
Transfer Files from Mac to Mini vMac
It would be great if there was a straightforward method to open up the old DSK images and transfer files to and fro, but it is not nearly that simple. This is where Mini vMac comes in. Take out the SD card from the Floppy Emu and bring it over to a modern computer to access the DSK images.
Export Files From Mini vMac
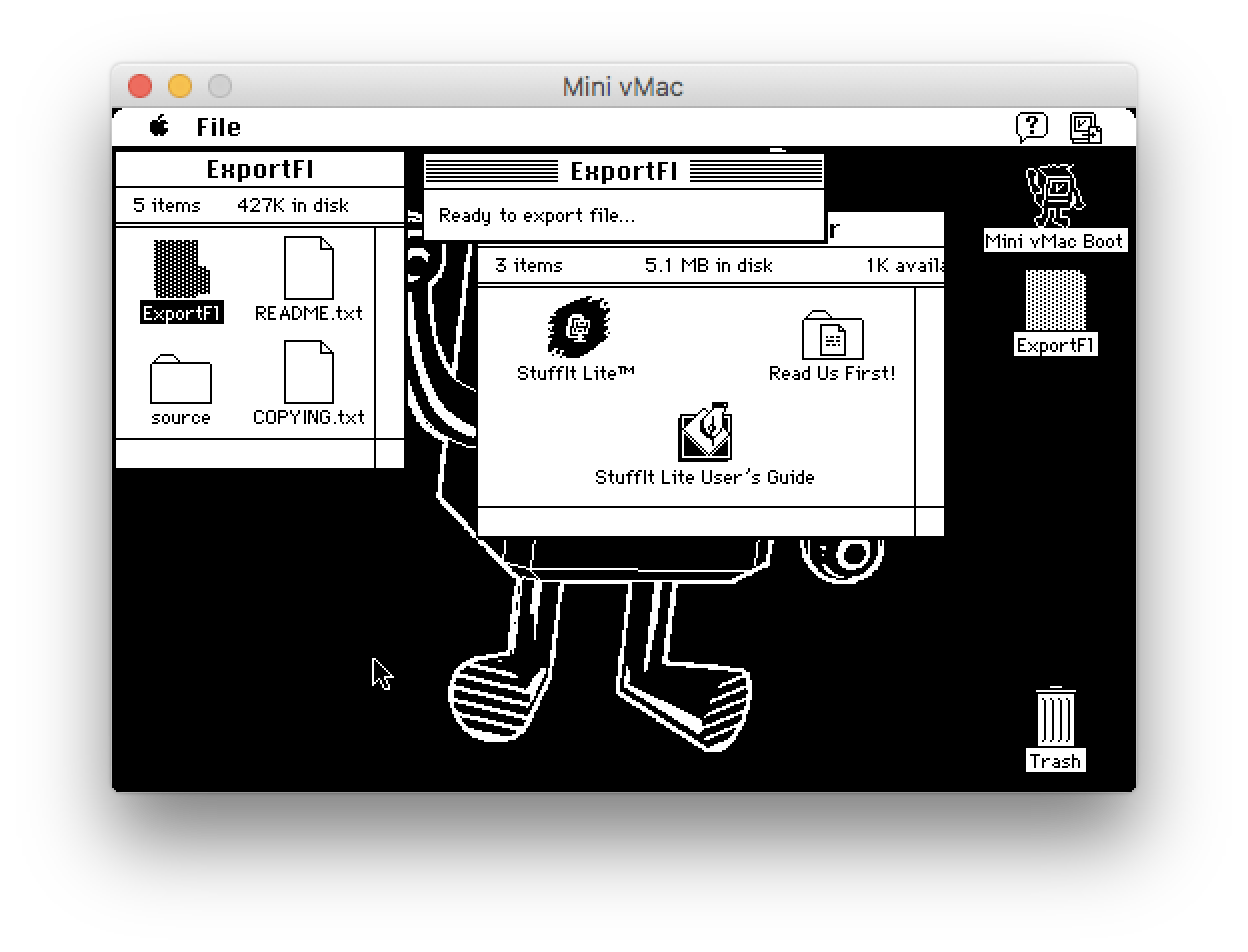
Even once I had my files loaded up on the Floppy Emu's SD card, I had to find a way to get those files transferred to a modern computer. When the SD card is plugged into a modern computer, it displays a bunch of DSK images, which are not natively handled by macOS. This is where Mini vMac is necessary. Start up vMac and then load the DSK image with the files to mount the disk in vMac. I was able to see the files in vMac, but how would I extract the files from the DSK and loaded onto my Mac? This is where ExportFl comes in, which can take these files in vMac and export them one at a time to the host system. Since I had a quite a few files, I just archived them using StuffIt Lite 3.5 in vMac and then exported the .sit files to my Mac.
To use ExportFl, download it, then mount the ExportFL DSK into vMac, which appears as a disk. Launch the ExportFL application, then select File > Open. Select the file to export and then you will be prompted with a native file dialog window to tell vMac where to export the file.
Import Files To Mini vMac
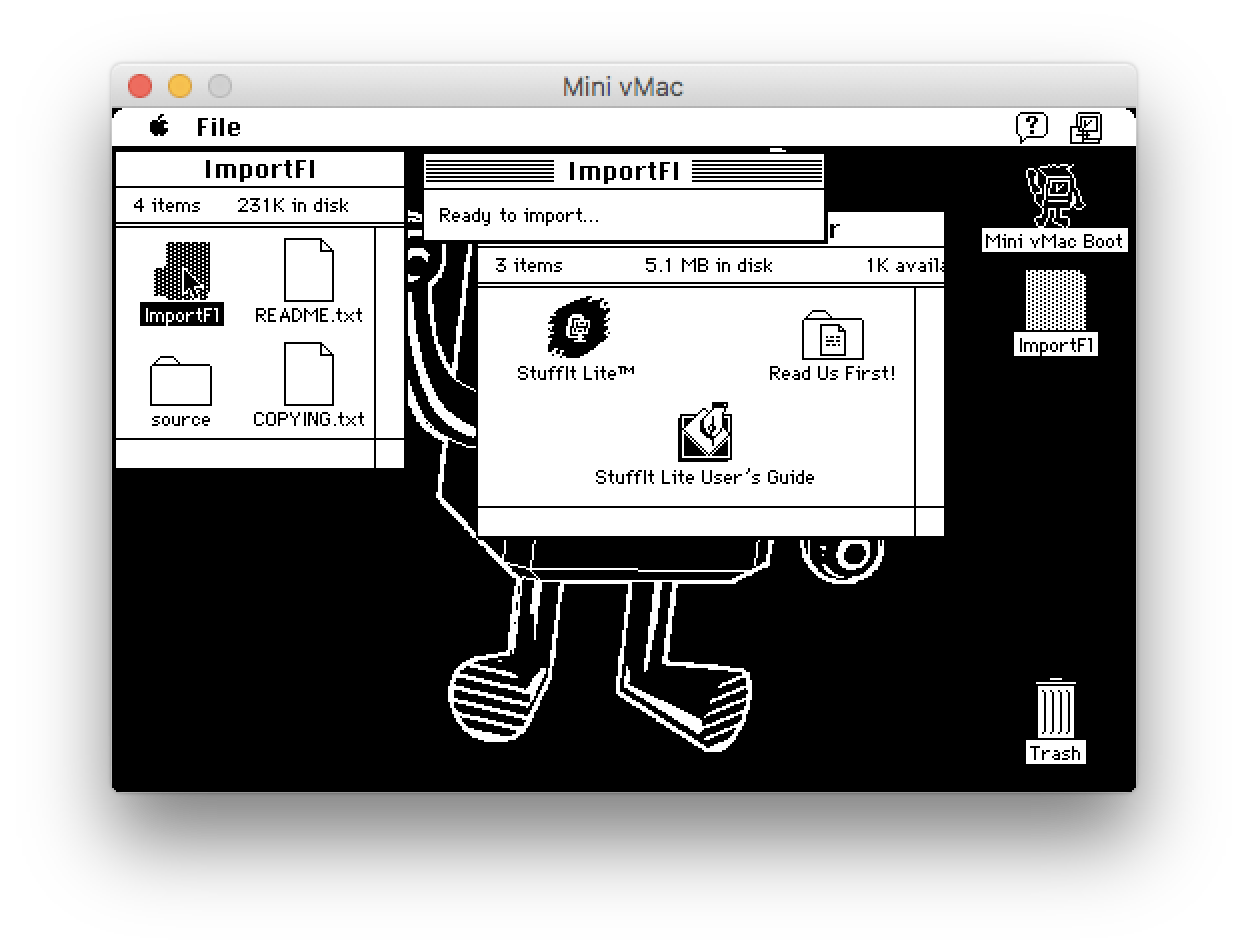
We've now learned how to export files out of Mini vMac, but what if we have some files we want to import and save onto a DSK image or use directly within Mini vMac? There is ImportFl, very similar to ExportFl, except it allows Mini vMac to import files from a modern Mac. Download, ImportFL, unzip the file, mount the ImportFl DSK in Mini vMac, start the app up, and once the dialog box is on the screen, drag and drop files onto Mini vMac's window. This can be useful if one wants to take some files from a modern computer and move them to an older Apple computer.
Reading Old Files
Microsoft Word
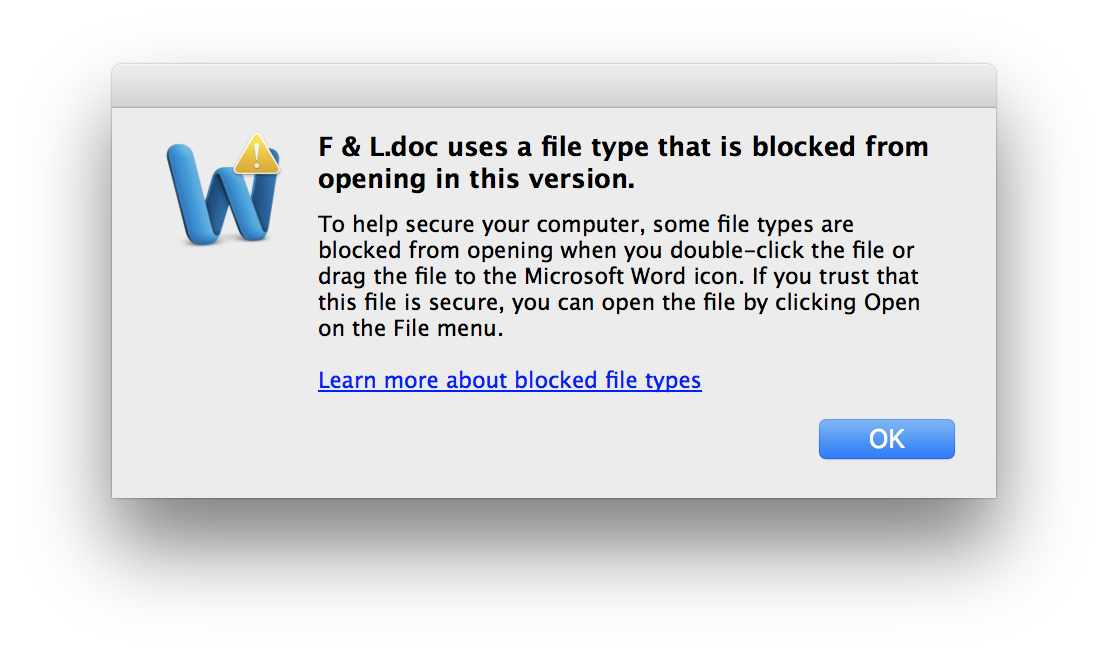
The original documents were likely created with Word 6.0. Trying to open these documents using a more recent version of Word (in this case, Word 2011), a warning dialog appears about opening old files, but they can still be opened by selecting File > Open. For such an old file, Word was able to read them properly. If you are using an older version of Word (e.g. Word 2004), no such alert dialog will appear.
ClarisWorks/AppleWorks
For any old ClarisWorks documents, AppleWorks can open and read those. If you have a Mac OS X installer of AppleWorks 6.2.9, it is possible to read these old documents on a not-completely-ancient Mac. I have a PowerBook G4 (running Mac OS X Tiger and Leopard) which has applications such as AppleWorks and Word 2004 on them.
Other Formats (HomeWord II, etc.)
For those file formats which have not persevered over the decades, some can only be opened with equally ancient programs, but sometimes they can be converted to a more modern or universal format. Many of the original documents I wrote on a Tandy 1000 HX computer were created with either DeskMate or Sierra's word processor Homework II. HomeWord II has a mode to export its files to ASCII, but it is also possible to open up the original files using a text editor of your choice. There is a lot of interspersed formatting, but it is legible, whereas if the file had been saved as a binary blob, the file might not be so easily translated/read.
Conclusion
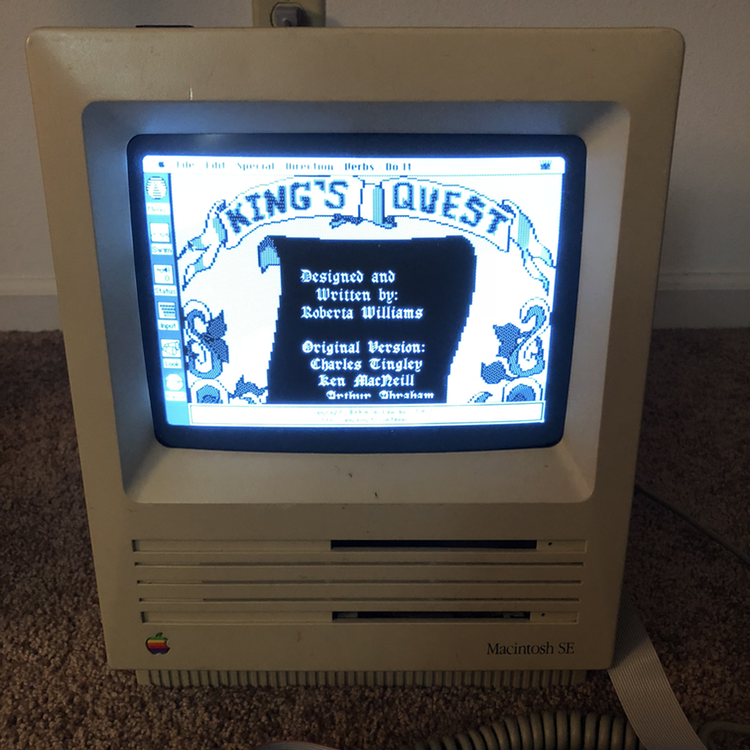
Learning how to back up and transfer the data from some old 800K Mac floppy disks has been an interesting process, which had the additional benefit of getting a little extra use out of a 30 year old Mac by playing a couple of old Sierra games such as the original King's Quest and Space Quest games. I hope that this proves to be useful for someone who might be encountering a similar issue or just might want to get a little more life out of some beloved dinosaur technology. Many thanks go out to Big Mess O' Wires and Grphyel for all of the work put into developing Floppy Emu and Mini vMac.
